
Calling all crafters!
Help keep our patients comfortable during and after treatment…
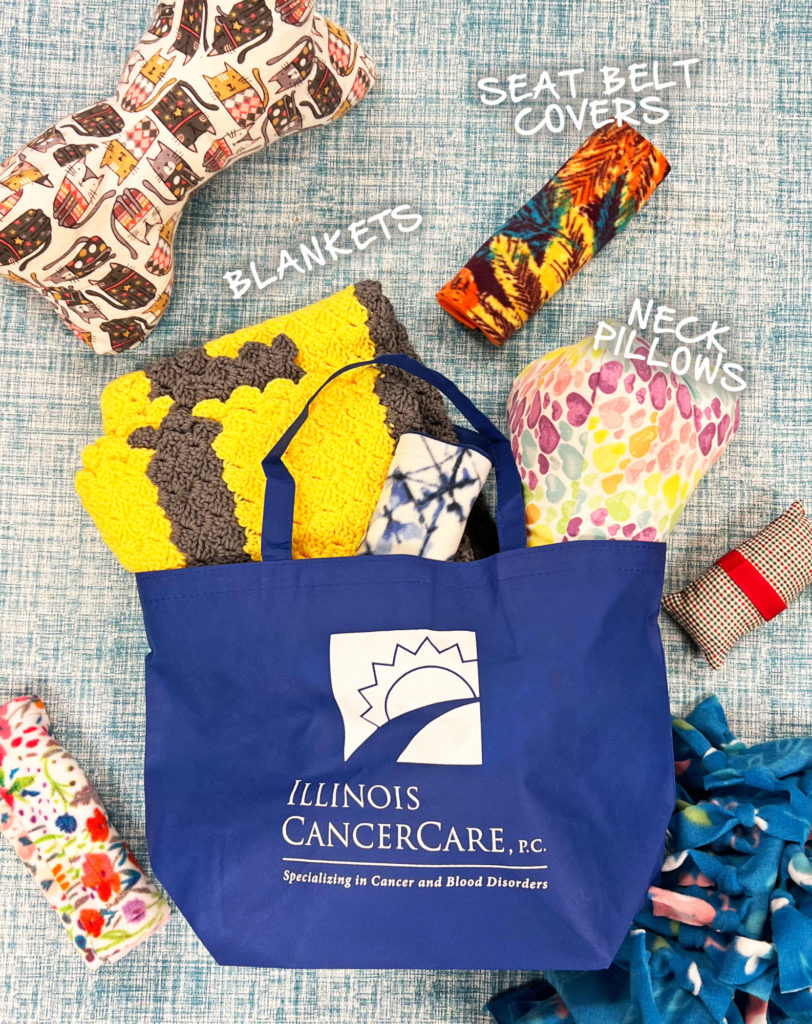 As a patient, walking through our doors for the first time is a very overwhelming experience. In an effort to help ease that anxiety, our Volunteer Coordinator, Erica, is excited to gift New Patient Bags with items to help bring comfort as our patients begin their cancer journey.
Erica is on the search for crafters in all of our clinic locations to help fill our New Patient Bags. We are on the search for:
- Blankets – Fleece Tie, Quilts, Throws, etc. – Our treatment rooms can get a little chilly for our patients undergoing treatment, especially in the winter months. These blankets bring warmth and comfort to our patients.
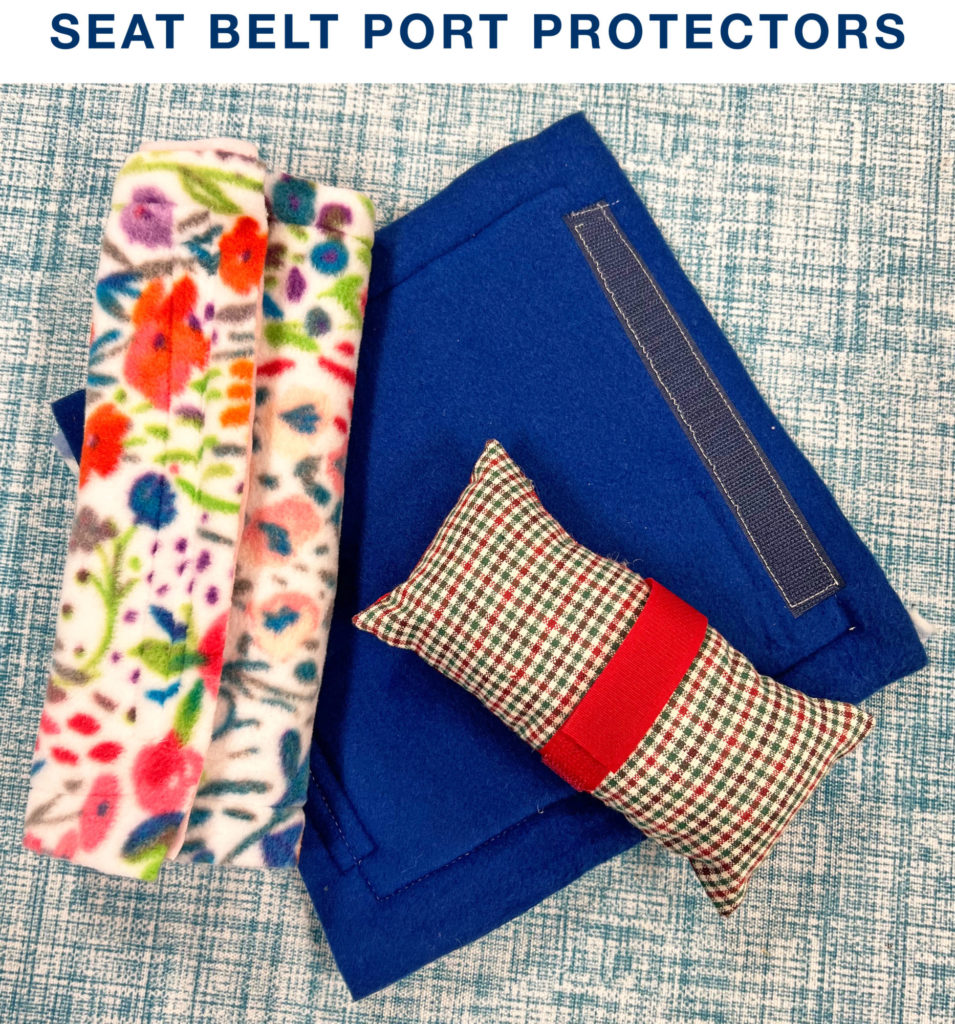
- Seat Belt Port Protector Covers (photo below right)
- Neck Pillows (instructions below)
Donation boxes have been set up at all of our clinic locations to begin collecting the above items for our patients. If you have any questions, please email wecare@illinoiscancercare.com or give Erica a call at 309-243-3502. Thank you!
 How to create a Dog Bone Neck Pillow
Supplies:
- Printer, scissors and adhesive tape or glue
- Three matching fabrics, each measuring 30x40cm (12x16in)
- Polyfill stuffing
- Thread
- Dog Bone Sewing Template
Instructions:
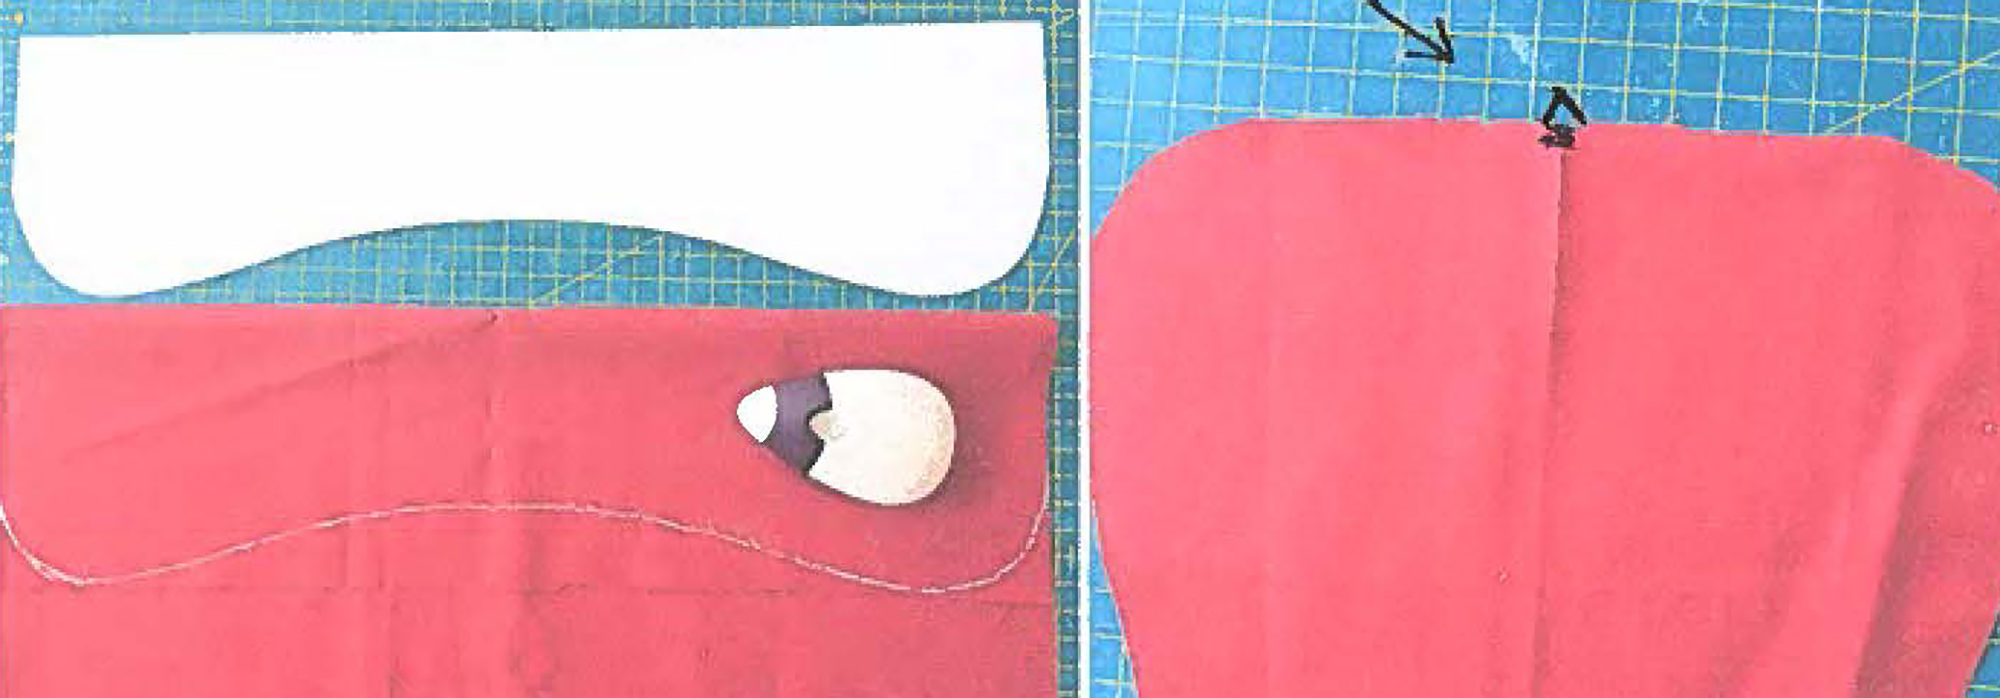
Print the PDF provided above and cut out both pieces. Then stick them together along the shaded grey area with either adhesive tape or glue so that the two pieces form one half of the bone shape. The seam allowance is already included in the template for the dog bone sewing pattern.
Use your neck pillow pattern to cut out one piece from each fabric. Fold each fabric in two and place the straight edge of the pattern against the fold to get a complete bone shape. Make a small notch sticking out.
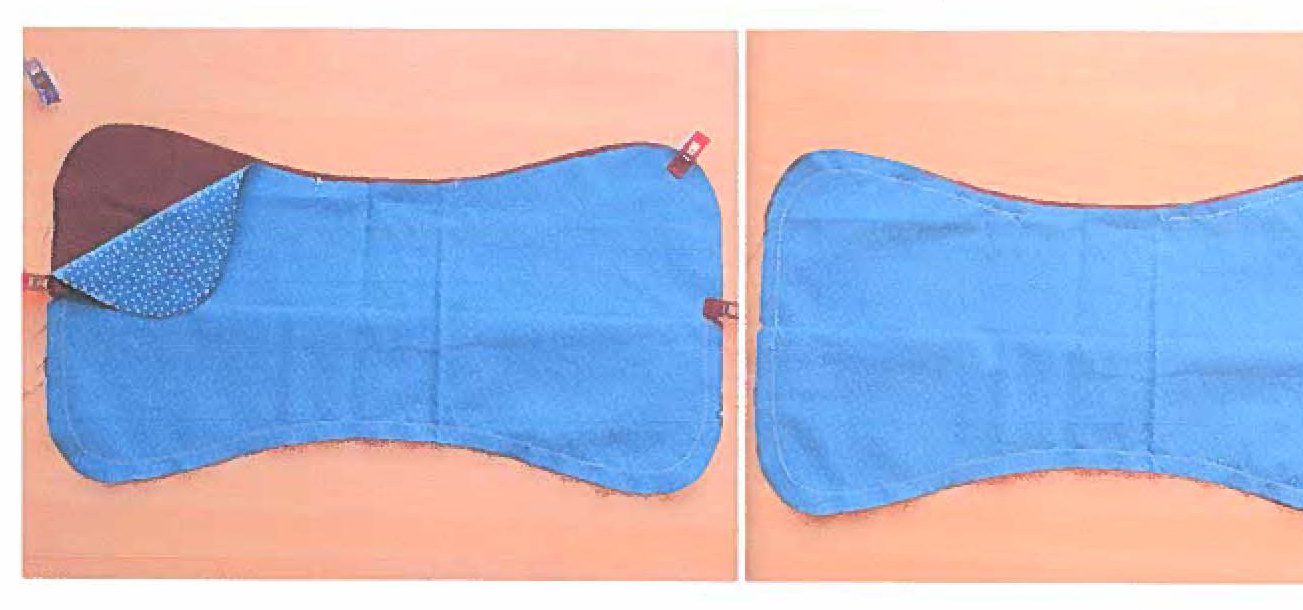
First, place two pieces of fabric right sides together. Pin or clip one long edge together, working from notch to notch. Sew along this edge, backstitching at each notch and using a 1cm (3/8 in) seam allowance. Take the third piece of fabric and pin or clip it to one of the other pieces, again right sides together. Sew the third piece on, working from notch to notch in the same way.
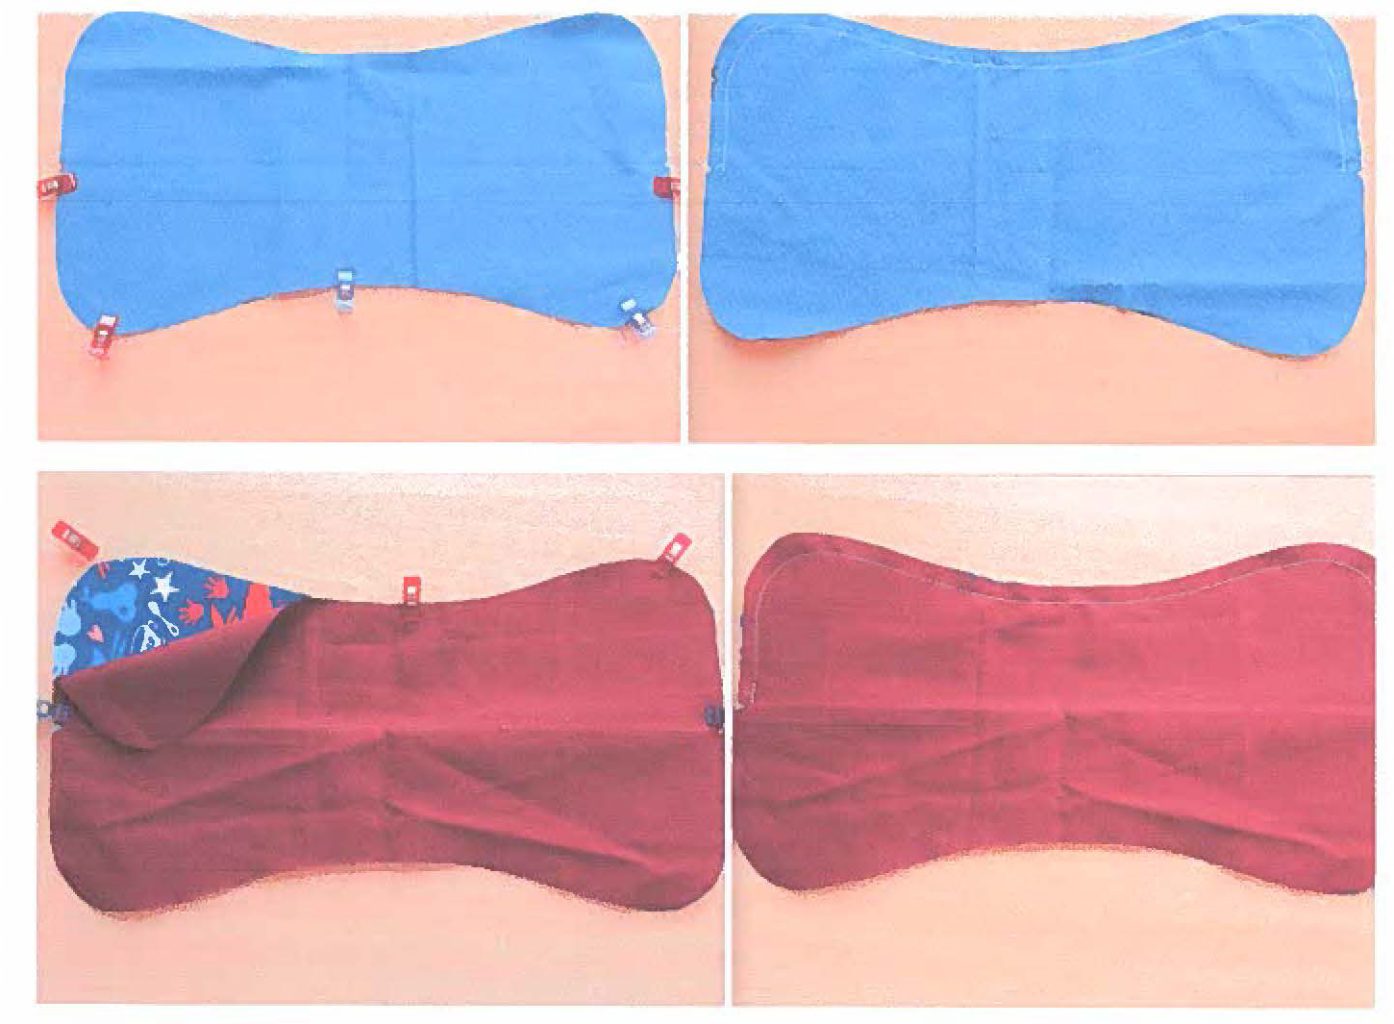
Now pin or clip the final seam together. This time you’ll need to leave a turning hole in the middle of the long side, which should be around 5cm (2in) long. Backstitch before and after this hole to make sure your stitches don’t come unravelled when you turn the cushion. Clip the seams around the ends – you can either use pinking shears or simply cut notches into the seams if you don’t have pinking shears. This will help make sure that the curves are smooth when your cushion is finished.
Turn the cushion the right way out through the turning hole – use something pointy like a chopstick to push the seams all the way out if necessary. Use polyfill stuffing to fill your cushion – try to use small pieces, as this gives a more even end result. You’ll need more stuffing than you think! The cushion should be firmly stuffed to provide adequate support for your neck when it’s complete.
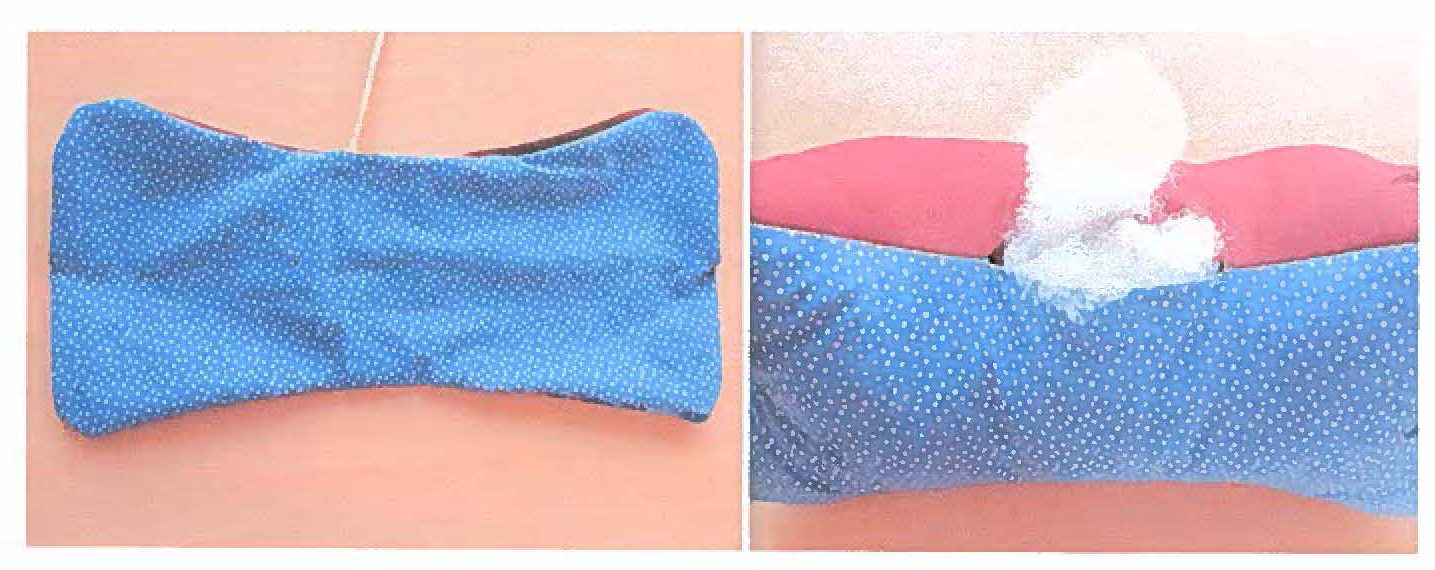
Close the turning hole invisibly by hand, using a ladder stitch to pull the two edges of the hole together.
Full instructions found here: https://wunderlabel.co.uk/blog/p/dog-bone-sewing-pattern-instructions-and-template/
Template found here: https://hellosewing.com/dog-bone-pillow-pattern/